Understanding DPI and Its Importance
DPI, or dots per inch, is a measurement that indicates how sensitive a mouse is in relation to movements made on a surface. It essentially quantifies how far the cursor travels on the screen based on physical movement of the mouse. A higher DPI means that the cursor moves more distance with less physical movement of the mouse, while a lower DPI results in more precise control with slower cursor movements. This sensitivity can significantly impact user experience, especially in tasks requiring accuracy and attention to detail.
The significance of DPI becomes particularly apparent in various applications, such as graphic design, gaming, and general office work. For instance, graphic designers often require a high DPI setting to create or edit intricate designs efficiently. The ability to move the cursor with precision allows for finer adjustments and more detailed work without excessive hand movements. Conversely, gamers might prefer varying DPI settings to adjust cursor speed according to their gaming style, enabling swift reactions in fast-paced scenarios or meticulous aiming in shooting games.
In an office environment, understanding and customizing DPI settings can enhance productivity. Professionals may find that contrasting tasks demand different cursor sensitivities, such as drafting documents or analyzing spreadsheets. For these reasons, many modern mice, including the MX Master 3S, provide customizable DPI settings. This adaptability ensures that users can transition seamlessly between high-speed movements and detailed control as their workload dictates. Ultimately, an optimal DPI setting plays a crucial role in maximizing efficiency and accuracy across diverse tasks, making its understanding essential for anyone looking to enhance their computing experience.
Overview of the MX Master 3S Features
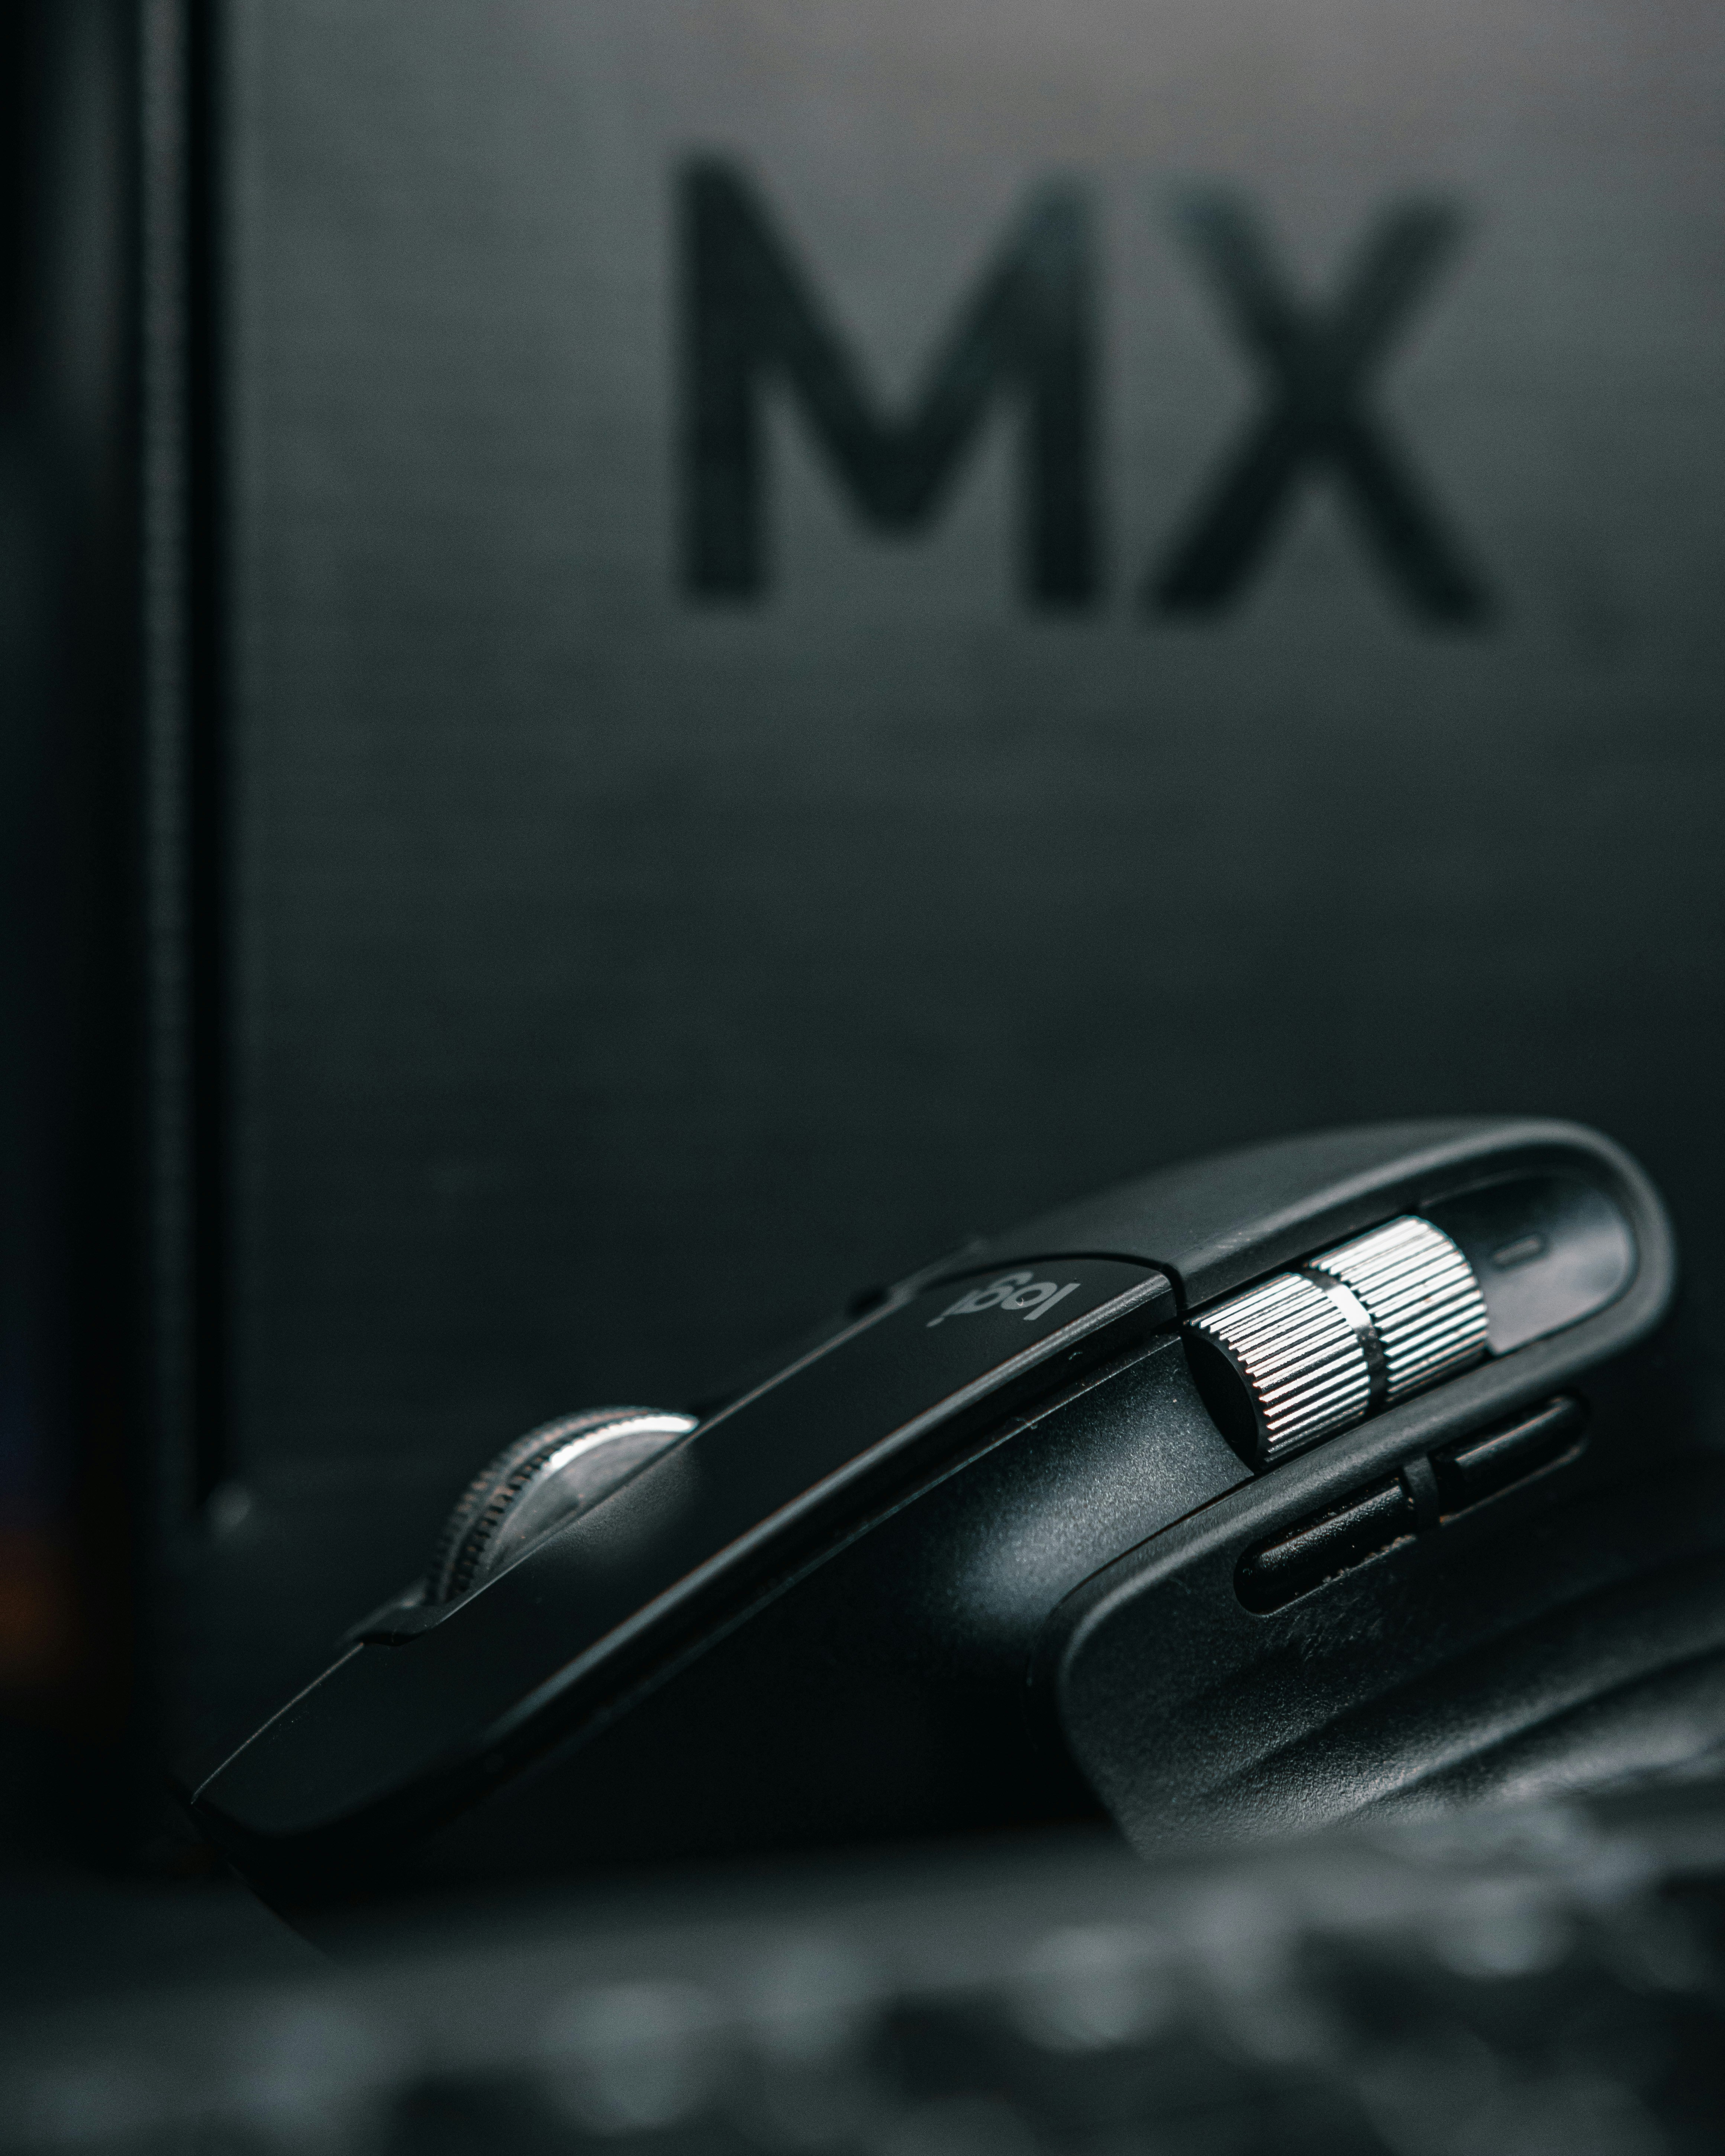
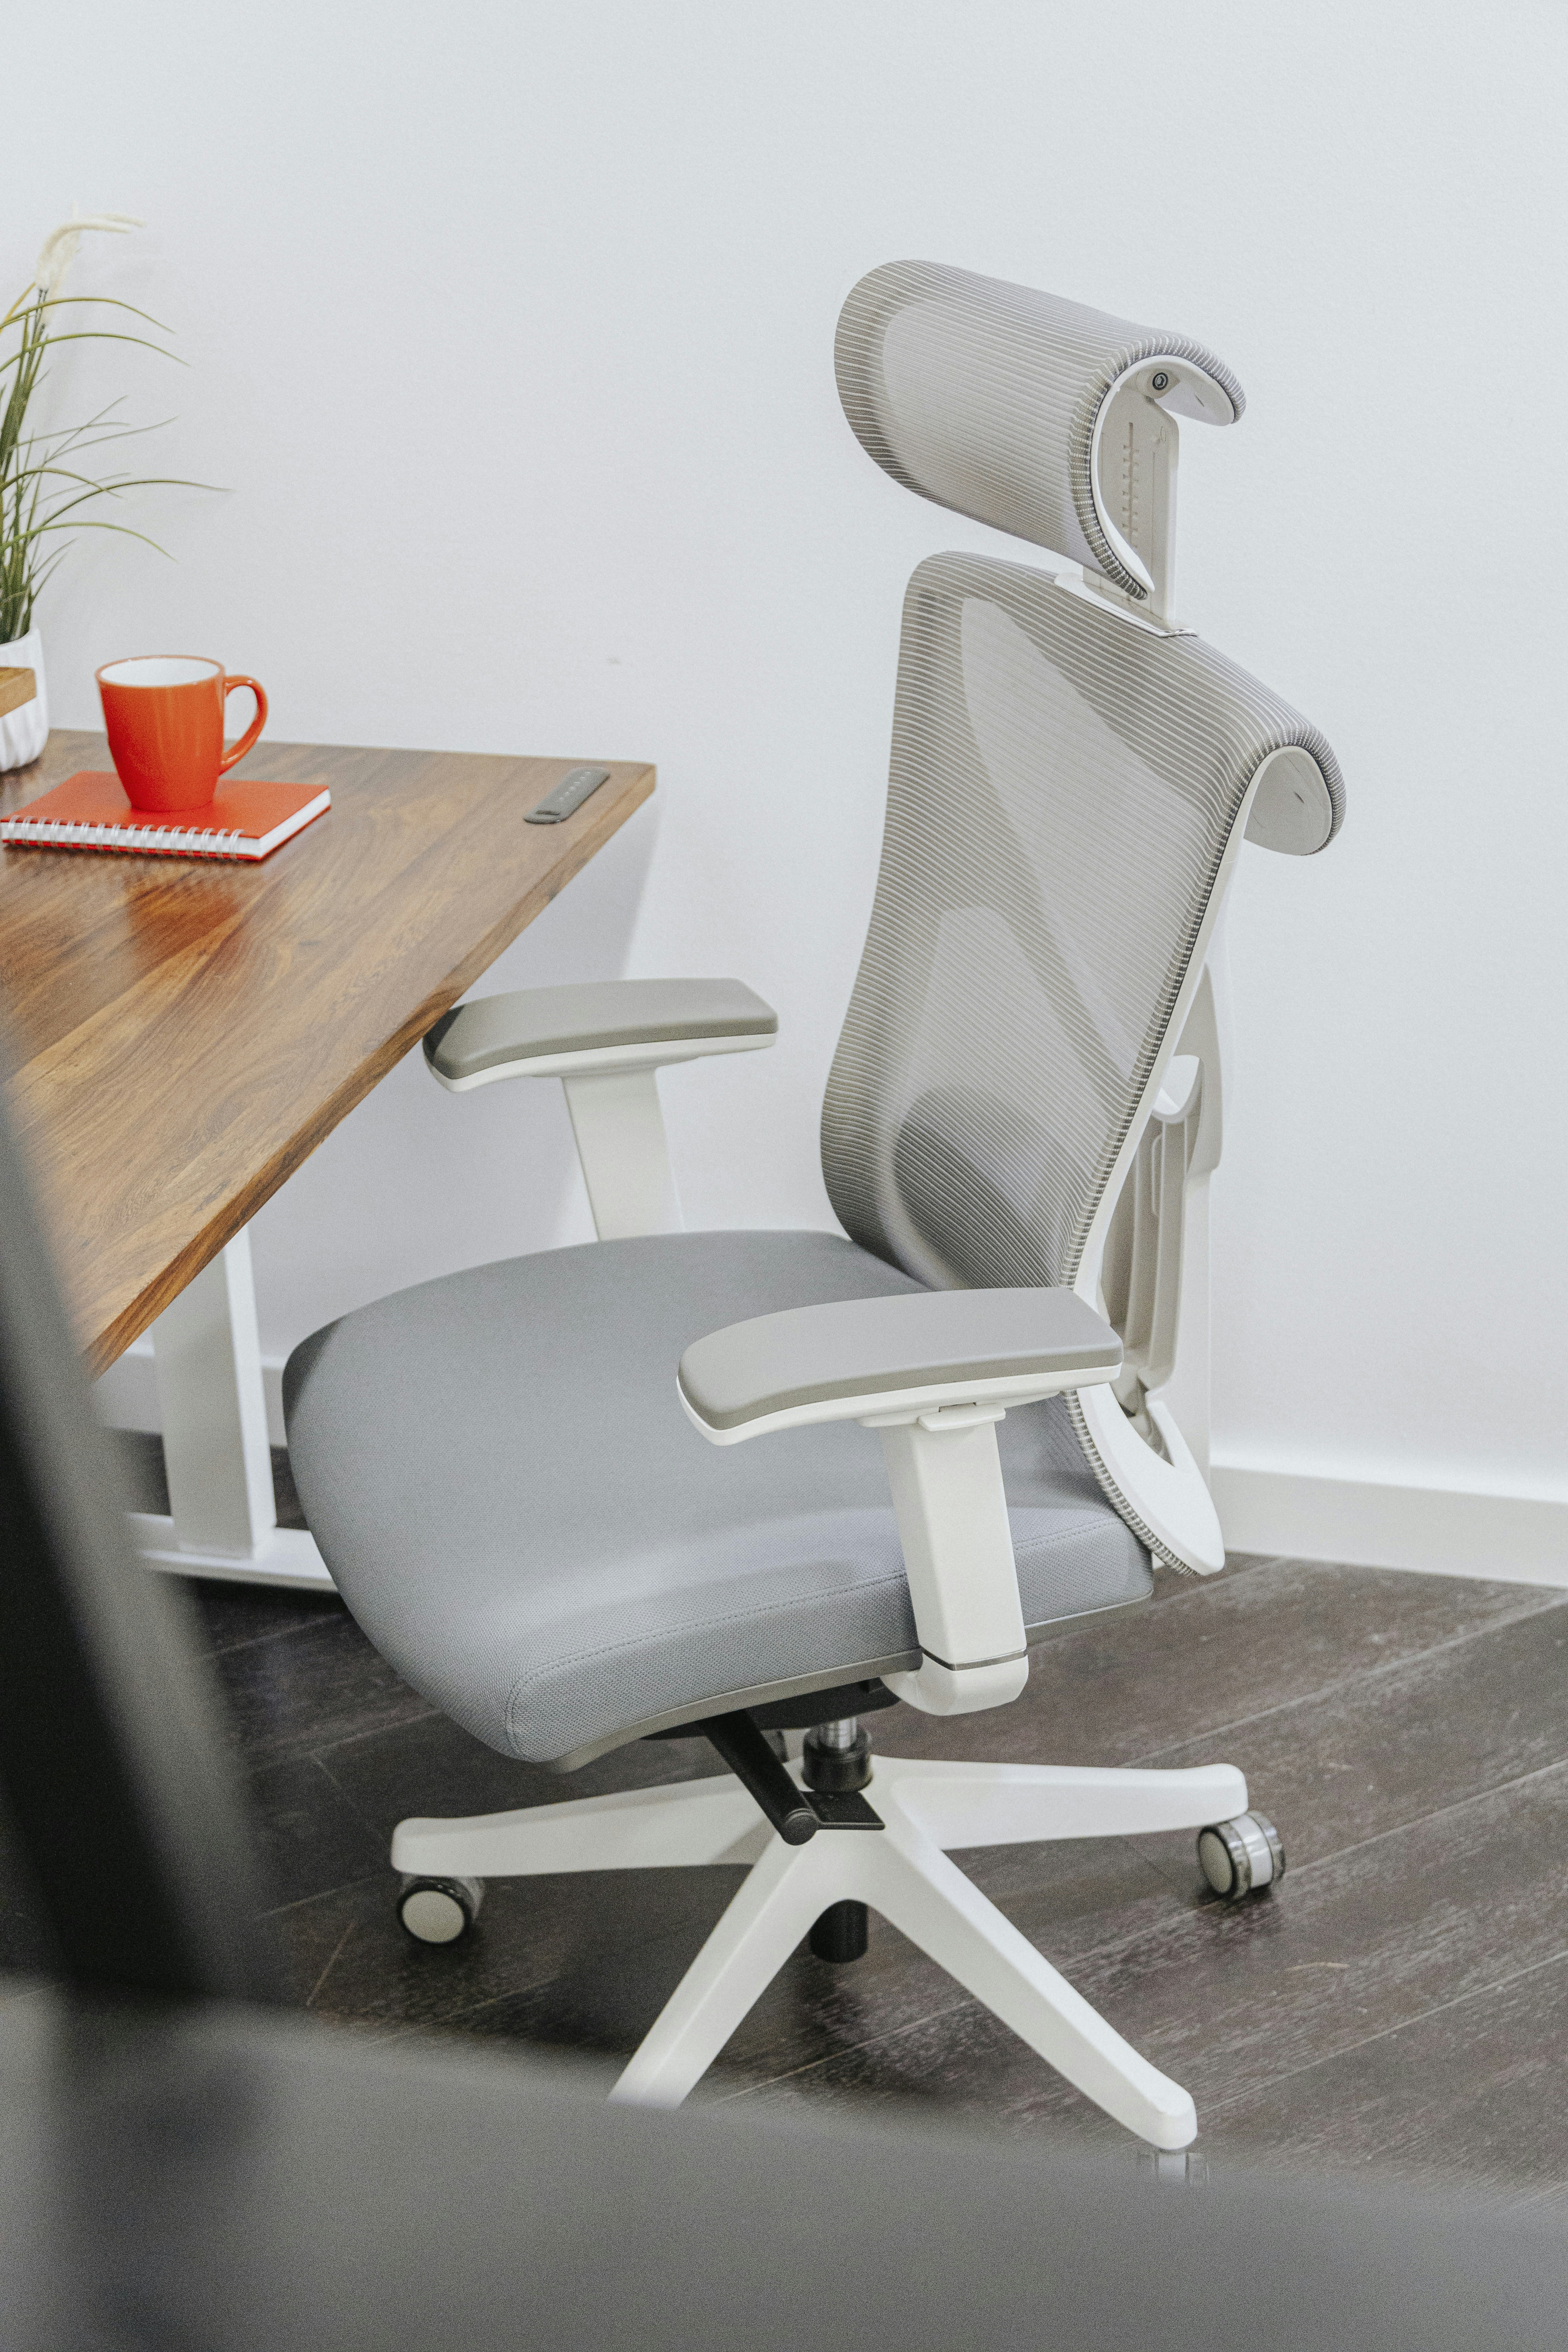
The Logitech MX Master 3S is a sophisticated wireless mouse designed for professionals and enthusiasts who prioritize precision and comfort. One of the key aspects of the MX Master 3S is its ergonomic design, which caters to prolonged use. This mouse is shaped to fit the hand naturally, promoting a healthier wrist position and reducing strain during extended work sessions. Whether you are focused on graphic design, spreadsheet management, or coding, the MX Master 3S provides support that can enhance productivity and comfort.
In addition to its ergonomics, the MX Master 3S boasts customizable buttons that allow users to tailor their experience according to specific needs. The mouse features a total of seven buttons—each of which can be programmed to execute various commands or shortcuts through the Logi Options software. This customization can significantly streamline workflows, enabling users to access frequently-used functions with just a click. For example, designers can assign tools or actions directly to the buttons, enhancing efficiency during creative tasks.
Another remarkable feature of the MX Master 3S is its advanced technology that delivers exceptional tracking capabilities. The mouse is equipped with Logitech’s Darkfield technology, which allows it to function flawlessly on virtually any surface, including glass. Additionally, the MX Master 3S supports adjustable DPI settings, allowing users to switch between different sensitivity levels. This adaptability is particularly beneficial for tasks that require varying precision, such as editing images or navigating large spreadsheets, where a lower DPI setting may be preferred for detailed work.
Overall, the ergonomic design, customizable buttons, and advanced tracking technology of the MX Master 3S make it a formidable tool for anyone seeking to optimize their workflow and enhance their precision work capabilities.
Accessing the Logitech Options Software
To effectively customize the DPI settings on your MX Master 3S mouse, the first step involves downloading and installing the Logitech Options software. This software acts as a robust platform that allows users to adjust various settings, including DPI sensitivity, button assignments, and scroll behavior, thus enabling a highly personalized experience tailored to specific requirements.
Begin by navigating to the official Logitech website. In the search bar, type “Logitech Options” and select the appropriate link. Once on the Logitech Options page, you will find two distinct download options for macOS and Windows users. Choose the version that corresponds with your operating system. After clicking the download button, the installation file will begin downloading to your computer. Depending on your internet speed, this process may take a few moments.
Once the download is complete, locate the downloaded file in your browser’s download section or the specified download folder on your computer. On Windows, double-click the executable file to launch the installer, while macOS users need to drag the file into the Applications folder to initiate the installation process. Follow the on-screen prompts to complete the installation. It is recommended to review any additional settings or permissions that may aid in optimizing the software’s functionality.
After installation, launch the Logitech Options software. Upon opening, you will be greeted with a user-friendly interface that displays your connected devices, including the MX Master 3S. Here, you can explore various features such as DPI adjustments, button customization options, and scrolling settings. Familiarizing yourself with this interface is crucial, as it provides the necessary tools to enhance precision work on your device.
Navigating to DPI Settings
To customize the DPI settings on the MX Master 3S, it is essential to begin with the Logitech Options software, a user-friendly interface designed for fine-tuning various features of your mouse. The first step involves ensuring that the Logitech Options software is installed on your computer. If you have not yet downloaded it, you can obtain it from the official Logitech website. Once installed, launch the software to access its main interface.
Upon opening Logitech Options, you will see a representation of your MX Master 3S mouse. Click on this image to select the device you wish to configure. The software is specifically designed to enhance performance and personalization for each connected device, so selecting your mouse is crucial to access its unique features.
After selecting your MX Master 3S, navigate to the ‘Pointer and Scrolling’ section within the software. This section houses the DPI settings which are fundamental for especially precise work. You will find a DPI adjustment slider that allows you to customize the sensitivity according to your preferences, ranging typically from 200 to 8000 DPI. The adjustments can be made simply by moving the slider left or right.
Additionally, Logitech Options provides the flexibility to assign different DPI levels to various buttons on your mouse. This means you can set distinct sensitivity levels for specific tasks, enhancing your overall workflow. To assign a button for quick DPI switching, look for the button assignment options within the software; it is a straightforward process where you can set button actions to accommodate your specific requirements.
Once you have set your preferred DPI settings, make sure to save your configuration. The changes take effect immediately without the need for additional steps, allowing you to experience improved precision right away. This careful navigation through the Logitech Options software ensures that your MX Master 3S is finely tuned to meet your precision work needs.
Customizing DPI Levels
Understanding how to customize DPI (Dots Per Inch) levels on the MX Master 3S can significantly enhance your precision work, tailoring your mouse sensitivity to suit various tasks. The DPI setting determines how far the cursor moves on the screen relative to the movement of the mouse. High DPI settings result in faster cursor movements, which can be beneficial for navigating large displays, while lower DPI settings provide the necessary control for intricate tasks such as graphic design or detailed photo editing.
To customize the DPI levels on your MX Master 3S, you can utilize Logitech’s Options software. This application allows you to set different DPI values to suit your specific needs. For instance, you may want to assign a high DPI of around 2000 to 4000 for tasks requiring speed, such as scrolling through lengthy documents or browsing the internet. Conversely, employ a lower DPI setting, around 400 to 800, for tasks that demand precision, like CAD applications or photo retouching. The flexibility in DPI adjustment can notably accommodate the diverse demands of multitasking environments.
Moreover, the MX Master 3S features the ability to switch between different DPI levels with just a click, making transitions seamless. By defining multiple DPI profiles, users can easily toggle between settings depending on the task at hand. This can considerably improve productivity as it minimizes the need to constantly adjust mouse sensitivity manually. Through the customization of DPI levels, users can achieve a greater alignment of their tools with their workflow preferences. This thoughtful calibration not only enhances precision but also contributes to a more efficient work experience overall.
Assigning DPI Shift Functionality
The MX Master 3S offers a remarkable feature that enhances user experience during precision work: the ability to assign DPI shift functionality to various buttons on the mouse. This customization allows users to switch between different DPI settings seamlessly, thereby improving efficiency as they navigate through tasks that require varying degrees of sensitivity and control.
To begin assigning the DPI shift functionality, users must first install the Logi Options software, which serves as the control center for customizing settings on the MX Master 3S. Once the software is installed and the mouse is connected, users will be presented with an array of customization options. Navigate to the button customization section, where a visual representation of the mouse buttons is displayed. Each button can be programmed according to individual preferences.
To assign the DPI shift, select a button, such as the thumb buttons or the scroll wheel, which are ideally situated for quick access. In the options menu, there will be a drop-down list that contains the DPI shift functionality among other choices. When this function is selected, users will be able to set specific DPI levels, such as 800, 1600, and 3200 DPI, enabling them to toggle between these settings easily during their work sessions.
Once assigned, the DPI shift enhances workflow by allowing quick adjustments tailored to tasks that require either fine control for detailed work, or quicker movements for broader navigation. This feature ultimately reduces the need to access software settings repeatedly, allowing users to focus more on their tasks rather than managing their tools. Customizing the DPI shift function not only streamlines workflow but also empowers users to utilize their MX Master 3S to its fullest potential.
Testing and Adjusting DPI Settings
Testing and adjusting the DPI settings on the MX Master 3S is crucial for achieving optimal precision in your work. The DPI, or dots per inch, determines the sensitivity of your mouse, directly affecting how accurately your cursor moves across the screen in relation to your hand movement. It is essential to tailor these settings to align with your specific tasks, whether that be graphic design, gaming, or general office work.
Begin by customizing the DPI settings through the Logitech Options software, which allows you to set multiple levels of sensitivity. Once the initial adjustments are made, it is important to test them in real-time work scenarios. Start with a moderate DPI setting and observe how it feels during your daily tasks. For instance, when editing detailed images or working on precision CAD designs, a lower DPI might give you finer control, while higher settings can boost your speed during less intricate activities such as scrolling through large documents.
Monitor your comfort and accuracy as you navigate through different applications. If you find that your cursor is moving too quickly or too slowly, revisit the Logitech Options software to make further adjustments. It may require several trials to find the setting that perfectly suits your workflow. Don’t hesitate to seek feedback from peers or consult online forums for insights on what DPI settings work best for various applications. Remember that personal preference plays a significant role in determining your ideal DPI, and it may differ depending on the context of use.
As you gather insights from your experiences, remember to fine-tune your settings continuously. By diligently testing and adjusting the DPI settings, you ensure that your MX Master 3S performs at its best, enhancing your productivity and comfort during use.
Troubleshooting Common DPI Issues
Customizing DPI settings on the MX Master 3S can greatly enhance your precision work; however, users may occasionally encounter several common issues that can hinder their experience. Identifying and troubleshooting these problems can help ensure that the mouse operates effectively and meets individual preferences.
One prevalent issue is the inability of the mouse settings to save properly. This can happen if the Logitech Options software is not updated to the latest version. To resolve this, users should check for updates and install them accordingly. Another aspect to consider is the synchronization between the mouse and the software. Disconnecting and reconnecting the mouse, or even restarting the computer, can often resolve transient connectivity issues affecting the saving of DPI configurations.
Discrepancies in mouse movement may also arise, often due to inconsistent DPI settings across different applications. It is essential to set varying DPI levels tailored to specific tasks, as an application might override the default settings. Users can address this by ensuring that they configure DPI options correctly in the Logitech Options software and consistently applying those settings to the applications they utilize.
Additionally, software glitches may manifest during customization. If users experience unexpected behavior, performing a full uninstall and reinstall of the Logitech Options software may be beneficial. This action clears any potential conflicts or corrupted files that could affect the DPI settings. Another useful tip is to check if multiple profiles are active; sometimes, an accidental profile switch can lead to confusion regarding the current DPI setup.
In conclusion, while troubleshooting common DPI issues can feel frustrating, implementing these simple solutions and strategies will allow users to customize their MX Master 3S effectively, thereby enhancing their overall productivity and precision in work tasks.
Conclusion and Best Practices
Customizing the DPI settings on the MX Master 3S is a crucial step that can greatly enhance your workflow and efficiency. Throughout this blog post, we have discussed the significance of DPI adjustments in relation to different tasks, whether it be graphic design, gaming, or everyday office work. Understanding how DPI affects cursor speed and precision allows users to tailor their mouse experience to meet specific needs and improve overall productivity.
It is important to remember that the optimal DPI setting may vary based on the type of work you do. For instance, graphic designers may benefit from a lower DPI for more precise control when working with detailed images, while gamers might prefer a higher DPI for quick movements and responsiveness during gameplay. Therefore, finding the right balance for your individual tasks is essential.
Furthermore, users should not hesitate to experiment with different DPI configurations. The MX Master 3S’s customizable features provide ample opportunity to adjust and save different profiles. This flexibility enables users to switch between DPI settings quickly, depending on the requirements of their current project. Documenting these settings can also serve as a helpful reference, allowing for easy adjustments in the future.
Sharing experiences with DPI customization can cultivate a community of users who learn from one another’s insights and preferences. Engaging with fellow MX Master 3S users about their settings can illuminate effective practices and inspire innovation in your own configuration. Ultimately, the goal is to enhance productivity and comfort while using the device.
In conclusion, taking the time to properly customize the DPI settings on your MX Master 3S will undoubtedly improve your efficiency and precision in a variety of tasks. By exploring and sharing your unique settings, you can optimize your use of this versatile mouse and contribute to a growing dialogue on effective usage practices.